Skip to content
Instagram
Facebook
Pinterest
Youtube
X-twitter
Envelope
Cuisine
Recipes
Lifestyle
Collaborations
Private Styling
Food Photography
Shop
E – Books
Plant-Based Food Demo
Food Orders
Contact Me
Cuisine
Recipes
Lifestyle
Collaborations
Private Styling
Food Photography
Shop
E – Books
Plant-Based Food Demo
Food Orders
Contact Me
Search
Cuisine
Recipes
Lifestyle
Collaborations
Private Styling
Food Photography
Shop
E – Books
Plant-Based Food Demo
Food Orders
Contact Me
baking
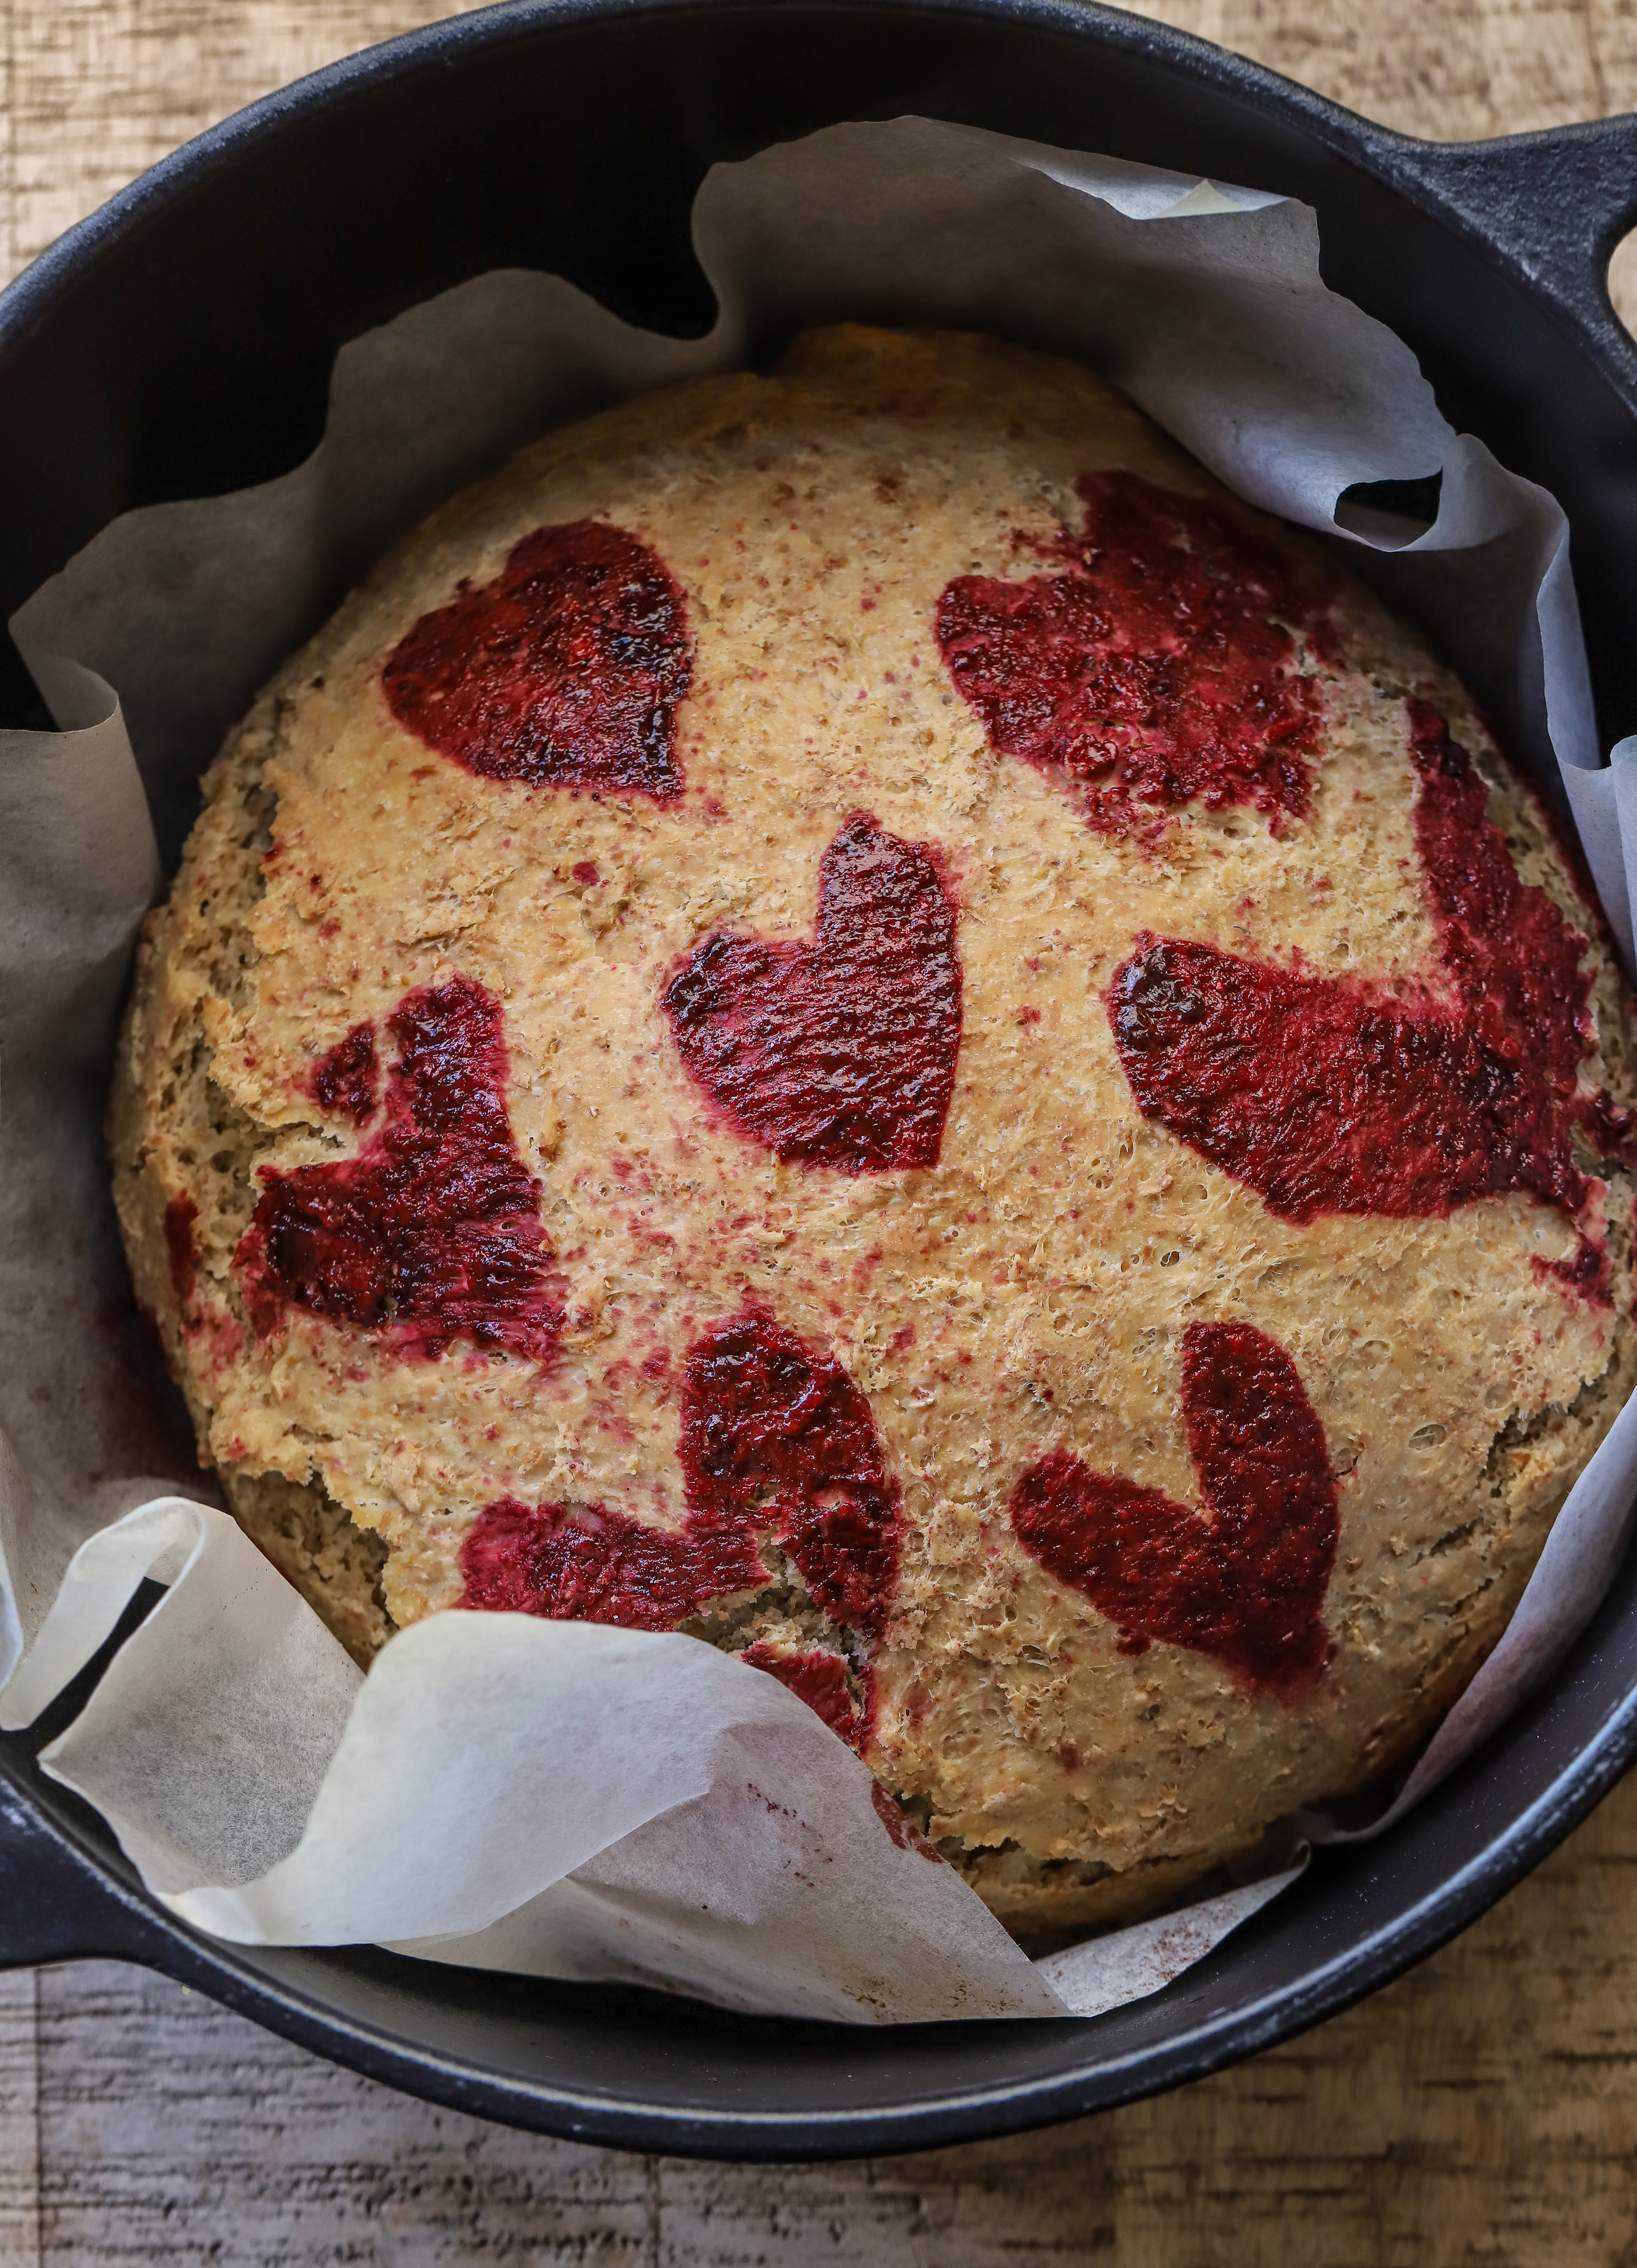
No-knead valentines loaf
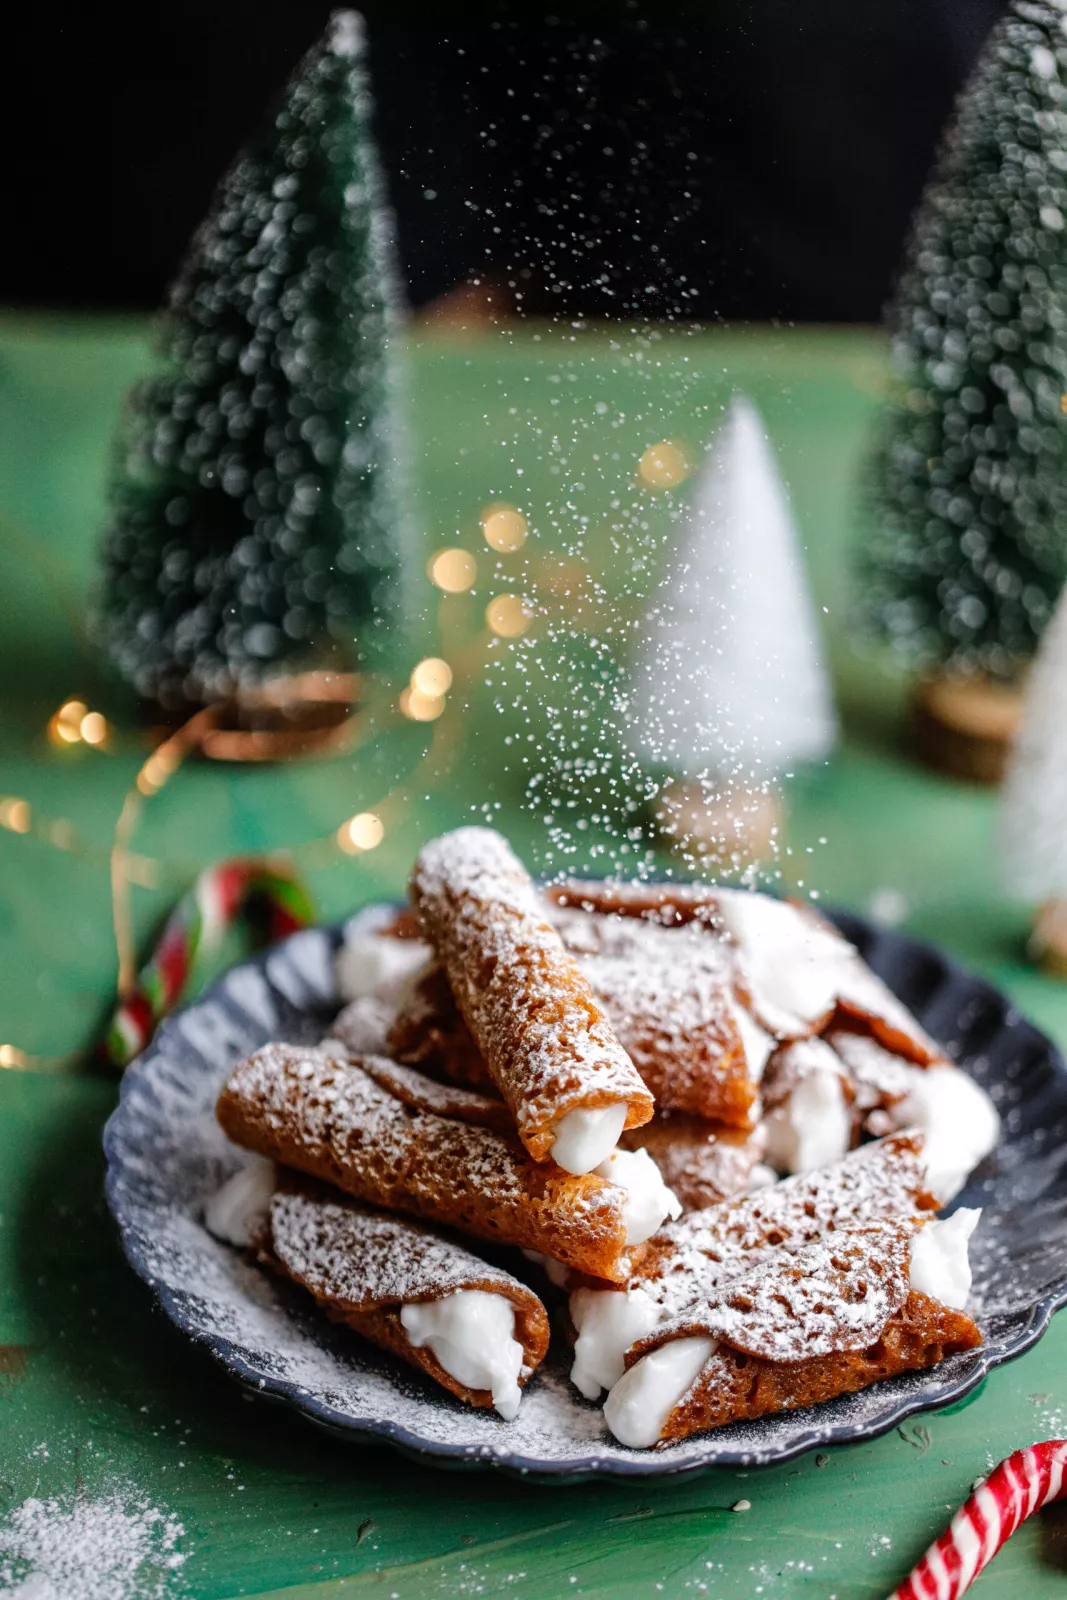
Vegan Brandy snaps
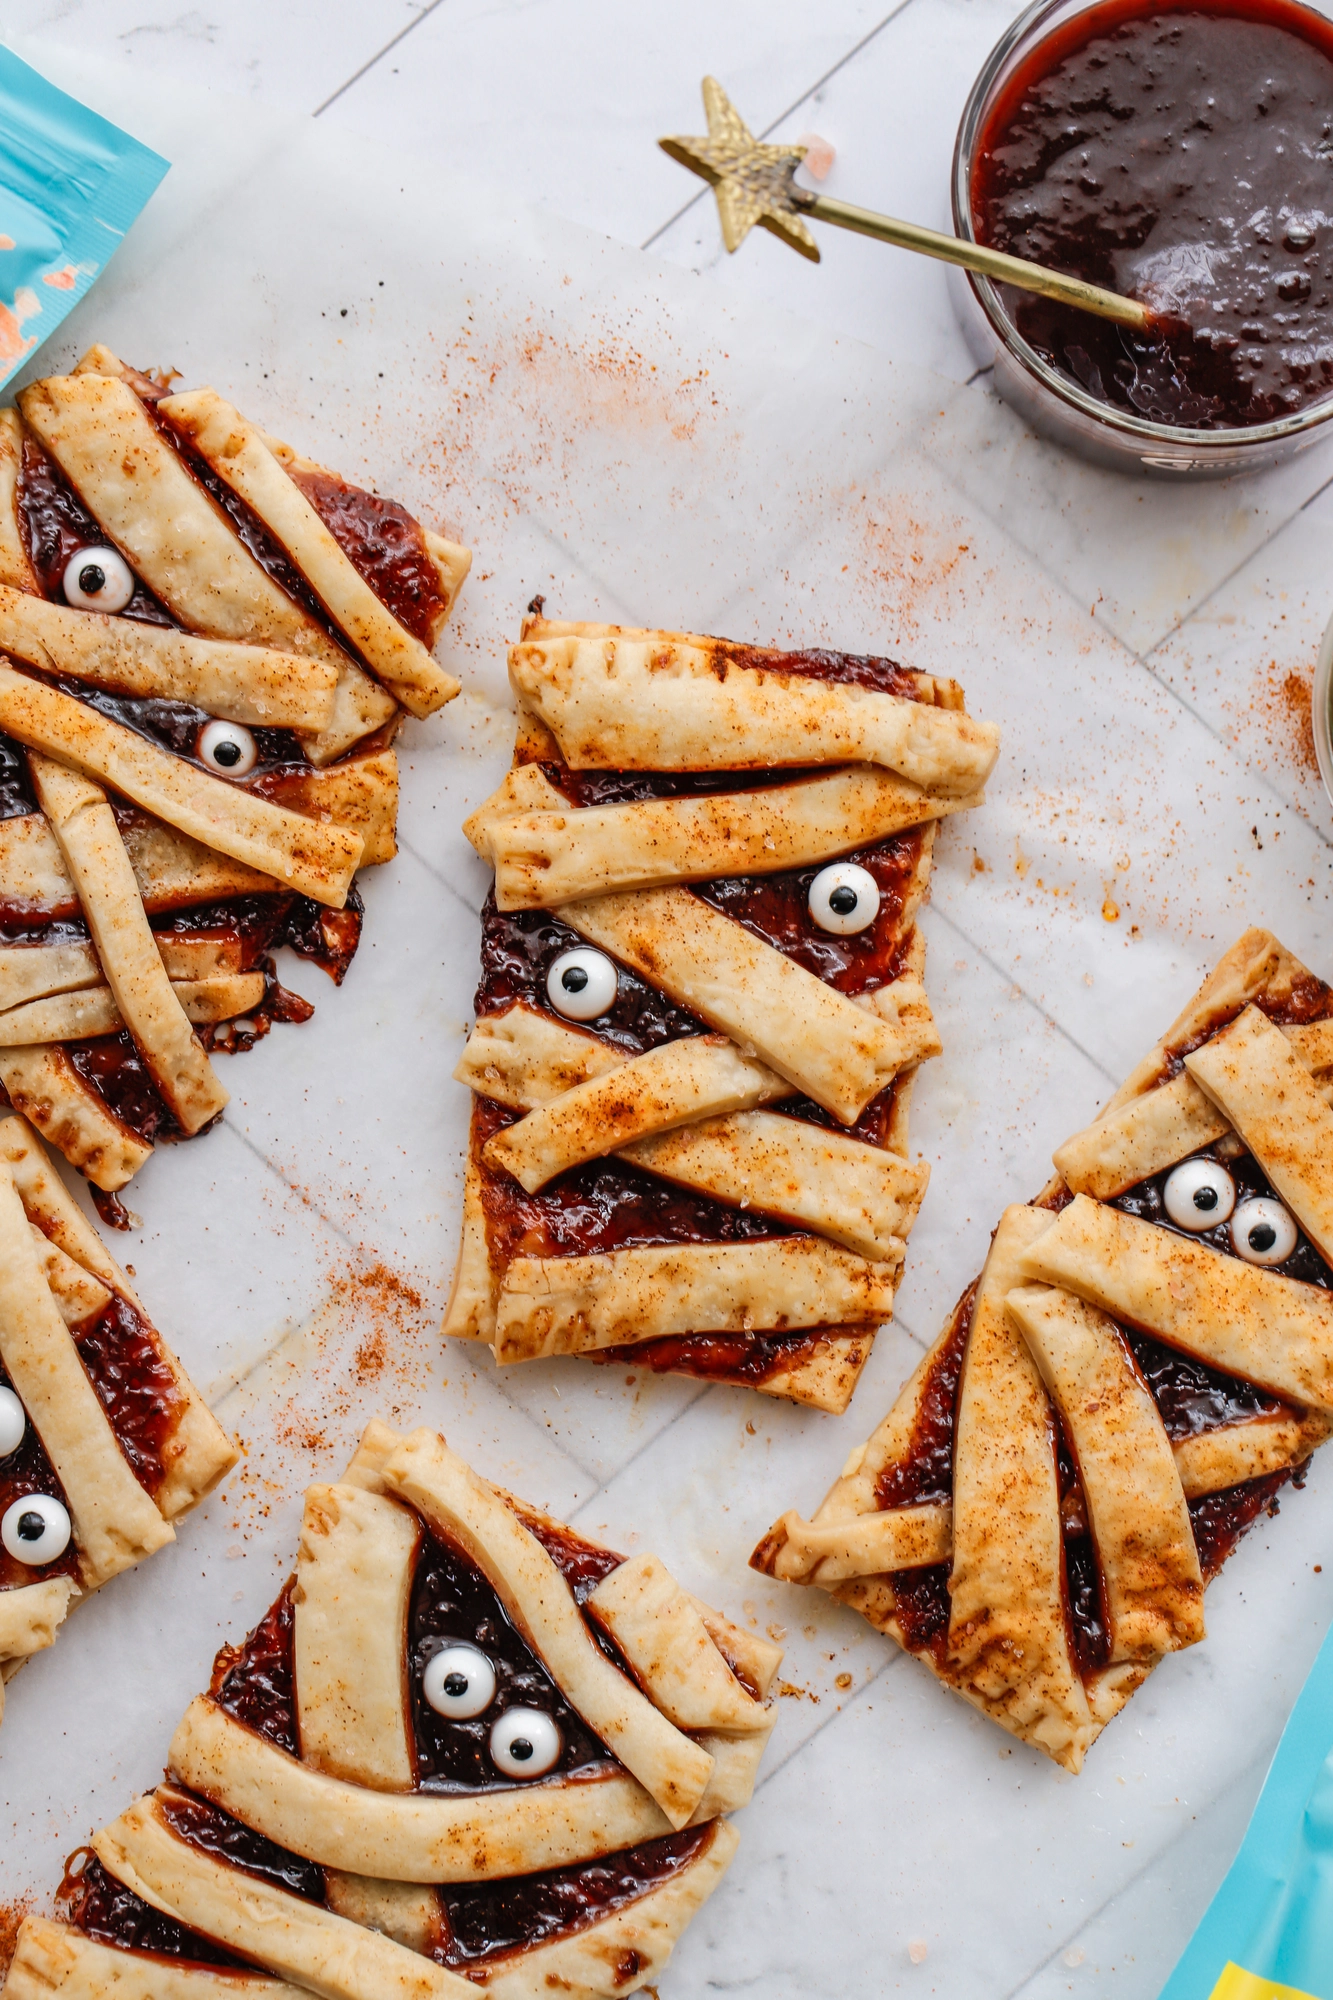
Tomato mummy puff pastry tarts
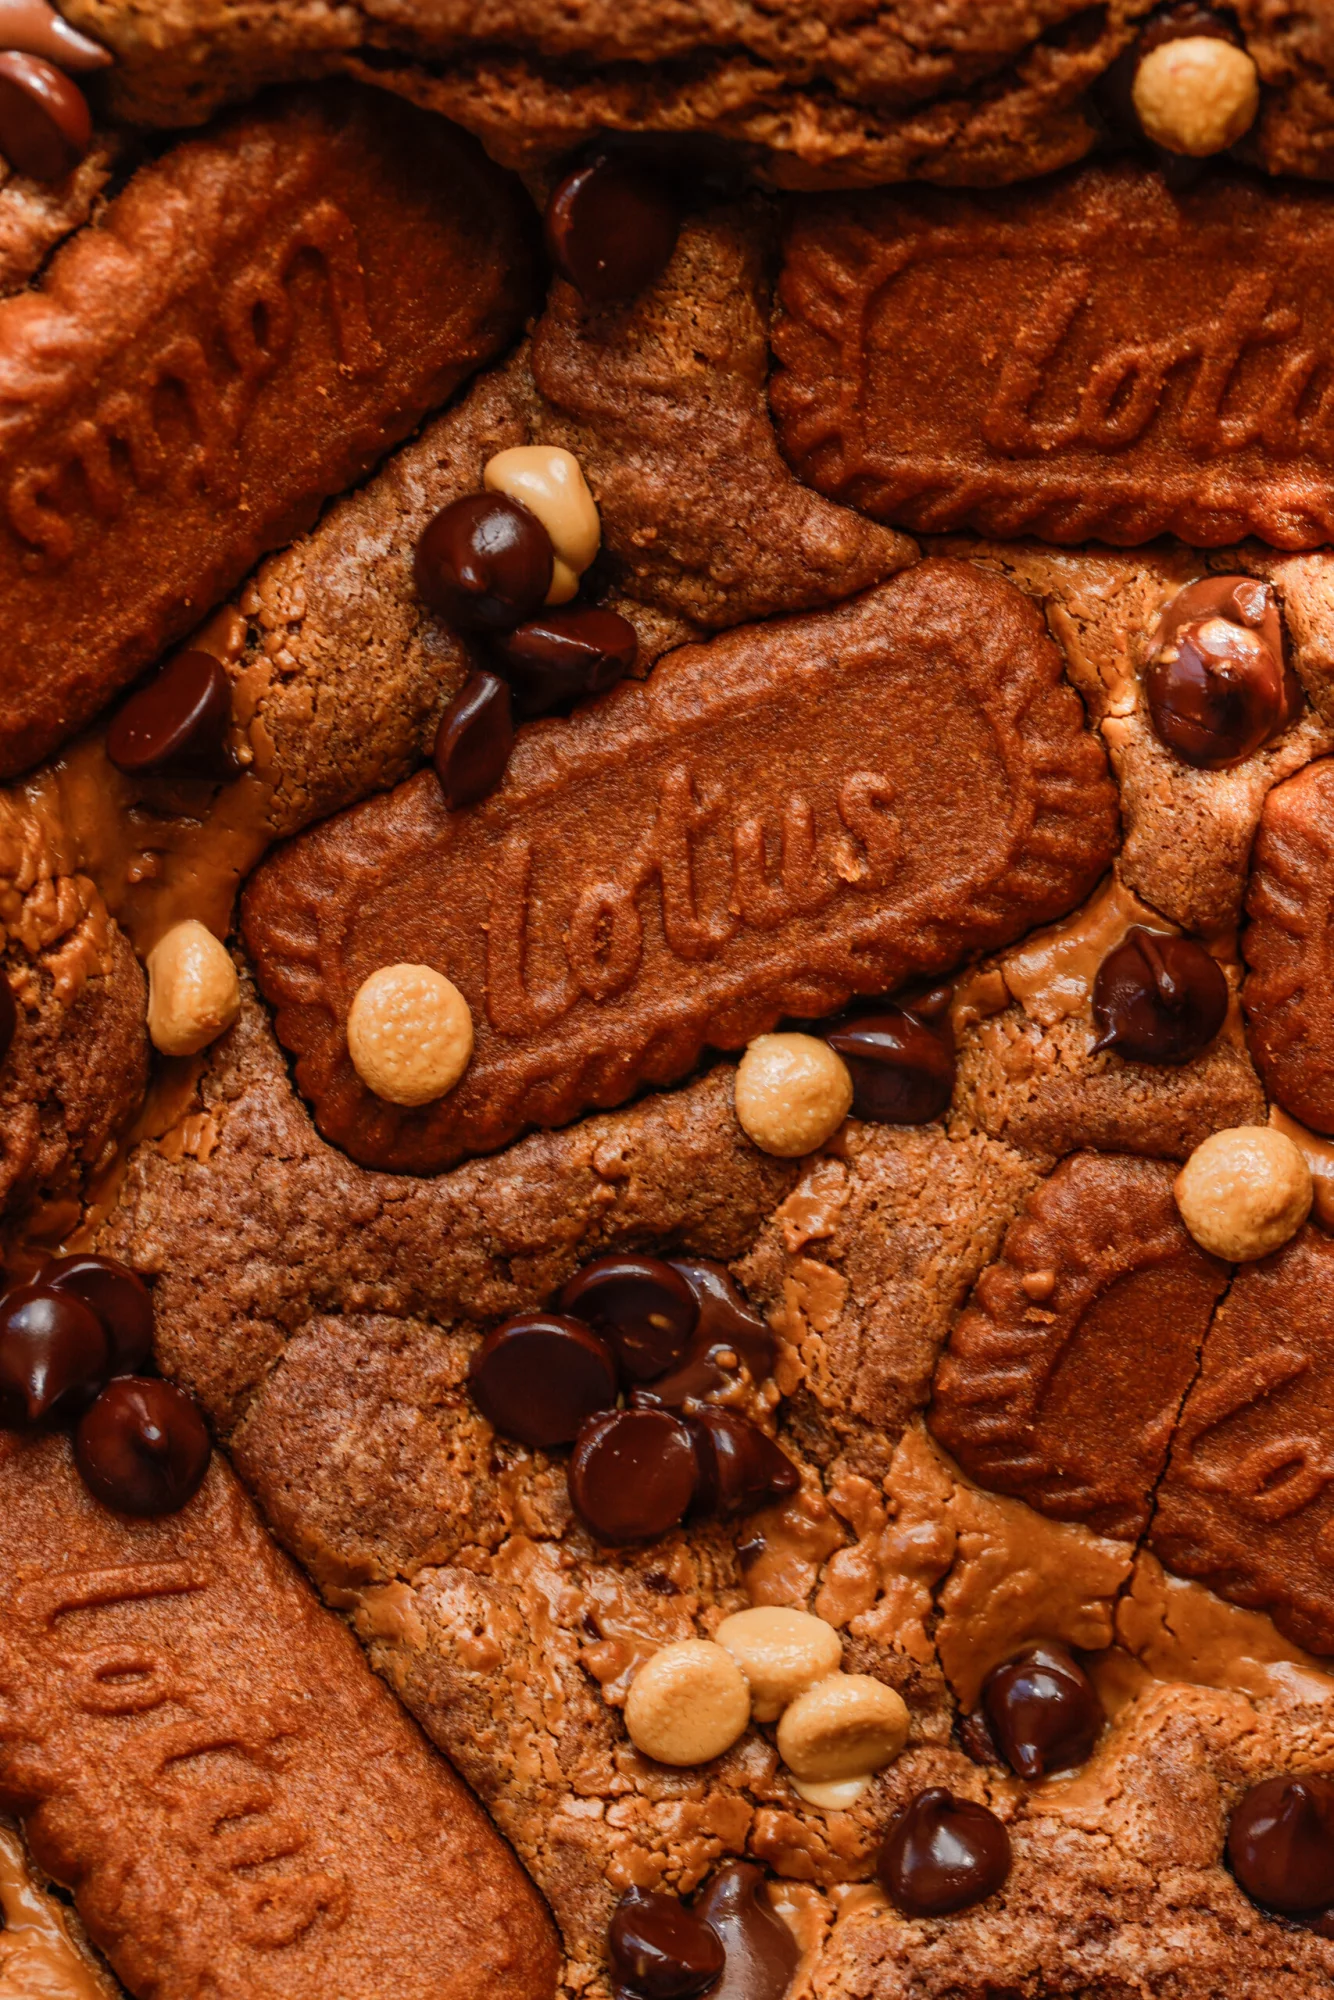
Biscoff Espresso brownies
« Previous
Page
1
Page
2
Next »
SUBSCRIBE TO RECIPES
Join our
lifestyle cooking community
and receive
exclusive recipes
in your inbox.
Name
Email
SUBSCRIBE